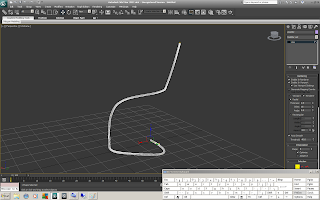
Draw line (use grid snap to obtain shown results) - top view - create - geometry - line
Make sure line ends at grid centre
Side view - start from grid centre - draw line (use grid snap to obtain shown results)
Perspective view - attach two line together
Vertex mode - select 2 vertex over lapping - weld
Highlight vertices right click - change from corner to smooth or corner biezers to obtain smooth transfer where required
Turn on render - render in viewport - select radius
Apply symmetry modifier
Adjust vertices to obtain desired results
Enter hierachy mode - affect pivot only - centre to object - turn off affect pivot only
Pivot point will now be on object centre
Add box to scene
Highlight box
Shift + a - click on legs - will align pivot point of box with legs
Adjust position and dimensions to form seat
Edge selection - apply chamfer
Apply turbo smooth to test if geometry holds with chamfer
Add extra geometry as shown using connect tool
Select groups of vertices (in verticle plane) and move vertically to produce results as shown
view results by enabling turbosmooth
Copy seat piece of geometry
Re-position and re-shape as shown
Render tested to check visual appearance
Decided to re-shape legs as shown
Import chair to table folder
Position at angle to sit under table - copy - position to sit adjacent - increase copt number
Group chairs - apply symmetry modifier
Position accordingly
Due to rotation applied to back rest of chairs on creation and selection method of group - guide incasement (box that surrounds geometry) is slanted to angle and projected in symmetry - will not effect model due to application but if were used for animation would require addressing
Apply same materials to chairs (table legs ~ chair legs - table main ~ chair seats)
Test render


No comments:
Post a Comment