Highlight single vertical beam and single horizontal beam - hold shift and drag to duplicate
(unnessasry however since simple geometry is required this can be a good time saving shortcut
Duplicate these beams and position around window frame (add more then sufficient depth as this can be corrected later)
Create plane - position over window panel - alt x to make see-through
Covert to editable poly
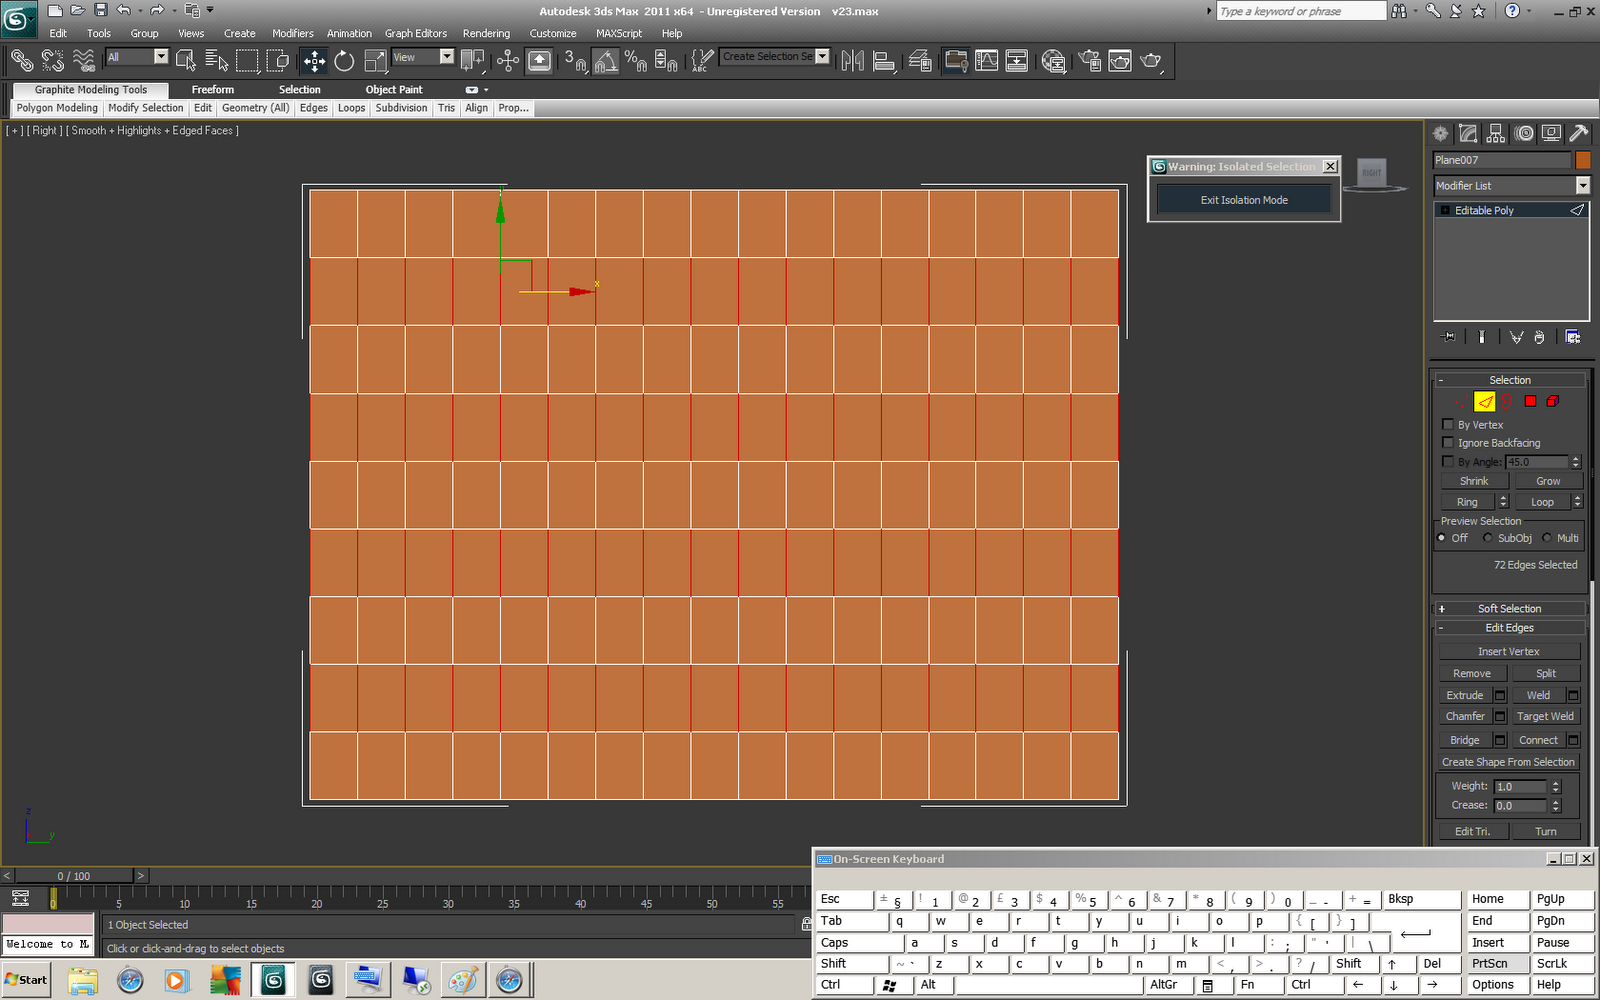
Apply connect (highlight top and bottom edge in edge mode - connect tool)
Increase segments to cover all vertical geometry
Repeat to cover vertical geometry
Add depth to geometry (shell or highlight entire plane and extrude)
Highlight all created squares (segments) - BOTH sides
Apply inset
Remove inset geometry only
Bridge gaps (aiming to create solid window frame geometry) - edge selection mode - highlight opposing single edges - bridge tool
Repeat until all gaps are filled
Add single plane of geometry (to be used as glass when material is applied later)
Clone window segment to cover all four window planes
Copy vertical beam - horizontal beam - window segment
Align to window using scale tool
Size to fit window and repeat window segments as required
Some window frames only require four segments instead of 5
Isolate window fame geometry (copy as new geometry to manipulate) - alt + q = isolation mode
polygon mode - highlight bottom set of window frame segments - delete
boundary tool - highlight newly formed hole boundary - cap
Scale new frame and window to fit as before
Align windows with walls (worry about outside only at this point)
Create windows for opposing side of building
Align with wall as before
Create layers for windows so can be hidden and frozen as required
Not all windows in project have square segmented windows
Create plane to span window - alt + x to make see through - increase segment amount to create segments with sizes comparable to grid pattern
Alt + q = isolation mode
Alt + x = remove see through
Highlight alternating ring geometry as shown
Apply chamfer - increase size until geometry lines are about to touch (intersect)
Vertex mode - select vertices on top half (triangles) to lower vertically until diamonds are nearly created (place vertices very close to each other)
Shrink intersecting gaps until diamonds are next to each other
Repeat until geometry is collapsed to form diamond grid
Highlight rows of vertices placed next to each other
Apply weld - change threshold if necessary
This will create actual diamonds in intersecting grid
Edge selection mode - remove unwanted horizontal geometry
Raise / lower the top / bottom edges
Weld as before
Apply lattice - alter settings until desired result is obtained (4 sides, single segment .5 radius)
Rotate 90'
Turn of lattice
Use cut tool add geometry lines to incase required amount of geometry (number of diamonds)
Highlight all other geometry
Remove all other geometry
Turn lattice back on
Turn isolation mode of and align frame to window
Copy frame to cover entire window space
Copy windows frames to cover next window
Repeat to over all windows as required
Create frames for windows as before
Align with wall
Add planes to be used as windows
Make see through to alter size as before if required
Place over frames
Since geometry is narrow can intersect frames (place in middle) to create appearance of glass
ADDED NOTES............
Applied chamfer to all window frames - highlight entire frame - chamfer - build method allows for desired results obtained through full chamfer
Picture shows scaling down window depths to work with scene interior